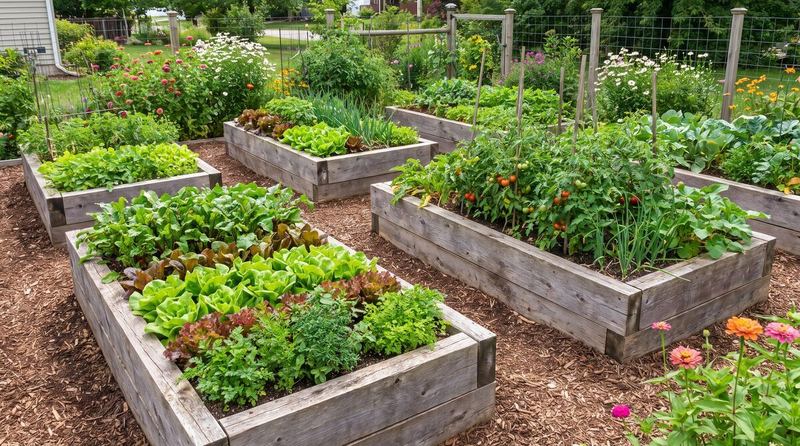
Timber, screws and one free afternoon: the step-by-step raised bed build behind half the photos on this site. It sounds specialist, but like most gardening it comes down to a few fundamentals done in the right order — this guide walks through them one at a time, with the timings and quantities that actually matter.
What you will need
- Tape measure and pencil
- Spirit level
- Drill/driver and screws
- Saw or pre-cut timber
- A free afternoon and a helper for the heavy lifts
Step by step
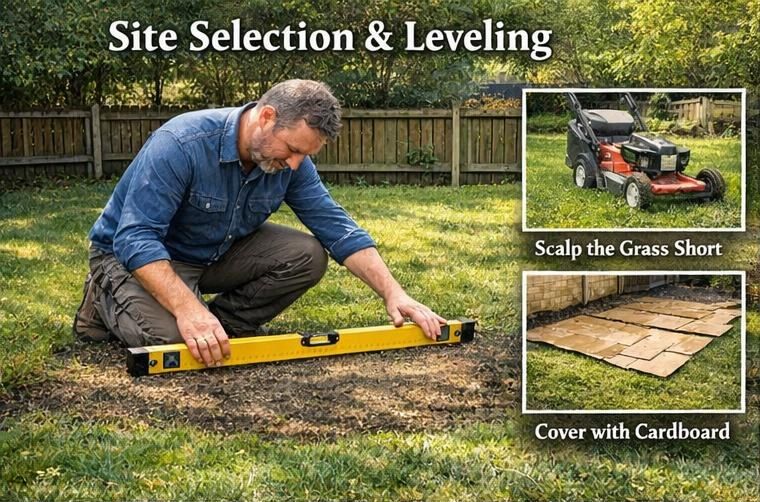
Step 1 — Site selection & leveling
Pick a sunny, level spot. Scalp the grass short, check the ground with a spirit level, and lay cardboard over the patch to smother weeds before the timber goes down.
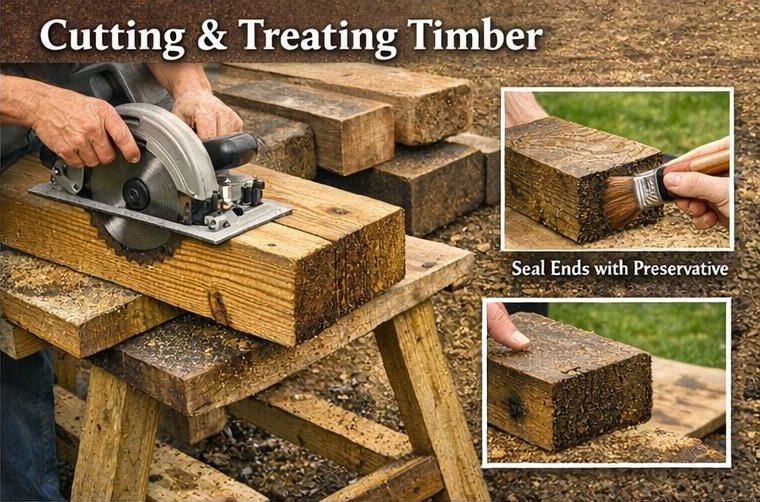
Step 2 — Cutting & treating timber
Cut the boards to length for your bed size, then brush preservative onto every cut end. Sealed ends last years longer in damp soil.
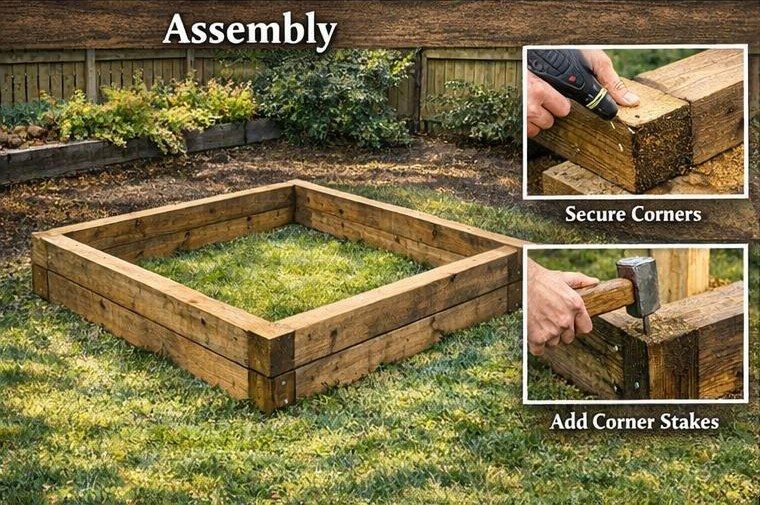
Step 3 — Assembly
Join the boards into a rectangle, secure each corner with screws, and drive a corner stake at every corner so the frame cannot bow out once filled.
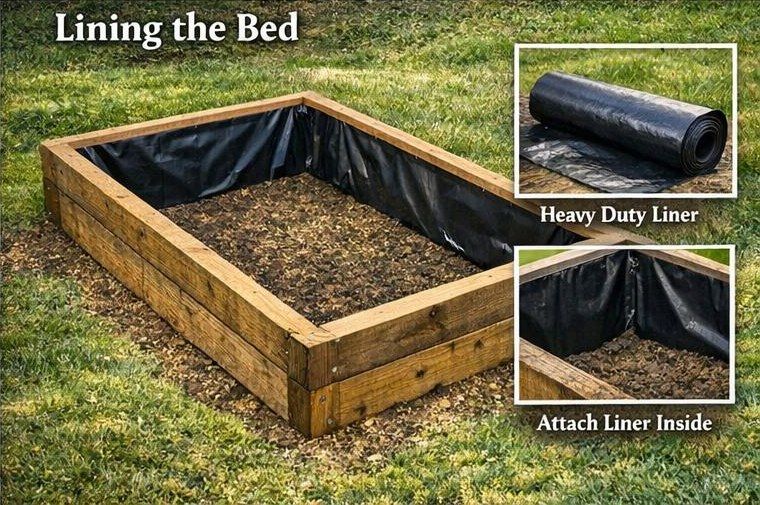
Step 4 — Lining the bed
Fit a heavy-duty liner around the inside walls and attach it to the timber. It holds moisture in the soil and keeps the wood drier, then the bed is ready to fill.
Expert tip
Write down the date you do this. Gardening advice is full of ‘weeks later’ — and the gardeners who improve fastest are the ones who can check what ‘later’ actually was.
Common mistakes
Watch out for
- Skipping the diagonal check — out-of-square frames never sit right.
- Using wood in ground contact without protection or drainage.
- Filling before levelling; soil hides a slope until plants reveal it.
Frequently asked questions
Do I need power tools?
A drill/driver covers most garden builds. Pre-cut timber removes the saw work entirely.
How long will timber last outdoors?
Pressure-treated softwood typically lasts 10–15 years in ground contact; hardwood and recycled plastic longer.